Gunsmithing Tips

Installing the Diamondhead D-45 45 degree Off-Set Sight Set

First make sure the rifle is unloaded! If you need a good option for back up iron sights but have no room for conventional sights because of your scope set up, the Diamondhead D-45 sights may be just what you need. With these sights you can flip them out and aim down the side of [...]

2024-12-24T16:42:00-05:00January 10th, 2017|Gunsmithing Tips|

Installing the Troy Ambidextrous Magazine Release

First make sure the rifle is unloaded! With the chamber plug that came with the rifle or some other non-marring punch, push the magazine catch button in as far as it will go. Unscrew the magazine catch from the button and remove. Put the Troy mag catch in the lower and screw the button in [...]

2017-01-14T14:49:10-05:00January 10th, 2017|Gunsmithing Tips|

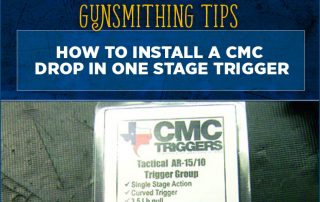
How to install a CMC Drop In One Stage Trigger

First make sure the rifle is unloaded, and push out the takedown and pivot pins to remove the lower from the upper receiver. Put the selector on fire and drop the hammer. With a 1/8" punch, drive out the hammer and trigger pins and remove the hammer, trigger and disconnector. Now with a 3/16" T [...]

2017-01-14T14:51:13-05:00January 10th, 2017|Gunsmithing Tips|

Installing the Magpul B.A.D. Lever

First make sure rifle is unloaded. Then remove receiver from the lower. Place the lever over the bolt catch. Place backing plate behind the bolt catch. Install and tighten screw with provided Torx wrench. You can now engage and disengage the bolt catch with your trigger finger for rapid operation of the bolt catch. (Note [...]

2017-01-14T14:53:42-05:00January 10th, 2017|Gunsmithing Tips|

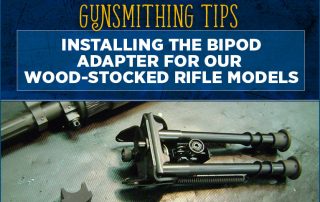
Installing the Bipod Adapter for our Wood-Stocked Rifle Models

With this adapter it is possible to securely mount a Harris bipod to these rifles without the bipod tilting upward. First, insure that the rifle is empty. Then install the spacer and bipod as shown. Unscrew knurled knob on bipod so you can squeeze the clamping bar to open it wide enough to go over [...]

2025-01-18T16:48:15-05:00January 10th, 2017|Gunsmithing Tips|

Using the Handguard Removal Tool

In your rifle operating and safety manual, removal of the handguards for standard rifles and carbines is covered on page 23. For some this can still be somewhat challenging. To make it much easier you may find the Handguard Removal Tool very helpful. It's very easy to use, and you can pop your handguards off [...]

2017-01-14T15:00:22-05:00January 10th, 2017|Gunsmithing Tips|

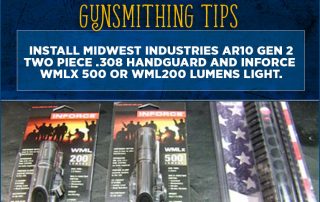
Midwest Industries AR10 Gen 2 .308 Handguard and Inforce WMLx 500 / WML200 Light.

First make sure the rifle is empty then remove the upper from the lower receiver. Remove stock handguards. Insert the front portion of the upper handguard with the "T" markings on top under the handguard cap. Pull the delta ring back until it's resting on the handguard. Put the lower half on the same way [...]

2017-01-14T15:07:26-05:00January 10th, 2017|Gunsmithing Tips|

Installing the ERGO SureGrip on the WW .308

Since the .308's pistol grip install is a little different from a mil-spec AR15, here are instructions for properly installing the ERGO SureGrip, or any other kind of AR15 pistol grip on the Windham Weaponry .308. To purchase an ERGO SureGrip, please see the link at the bottom of this article. Note that the little [...]

2017-01-14T15:10:09-05:00January 10th, 2017|Gunsmithing Tips|

Installing the Mission First Tactical’s 2-piece Railed Handguard Set

First, make sure the rifle is unloaded, and then push out the takedown pin and the pivot pin and remove the upper from the lower receiver. While pulling back on the delta ring tap the seam where the handguards come together on the edge of a table. When the handguards separate remove them from the [...]

2017-01-14T15:12:47-05:00January 10th, 2017|Gunsmithing Tips|
Go to Top